20+ Styling Straight Hair Ideas You’ll Want to Save
By Zohana • October 13, 2026 • Updated November 9, 2026 • 22 min read

format_list_bulletedTable of Contents
Quick Navigation- Sleek Low Ponytail
- Glass Hair Blowout
- Soft Face Layers
- Tucked Behind Ears
- Crown Braid Accent
- Half-Up Top Knot
- Deep Side Part
- Wet Look Gloss
- Polished Blunt Bob
- Twisted Front Pieces
- Smooth High Bun
- Wispy Curtain Bangs
- Bubble Ponytail
- Padded Headband Style
- Twisted Low Chignon
- Slicked Back Ponytail
- Long Flowing Layers
- Claw Clip Twist
- Sleek Straight Lob
- Fishtail Side Braid
- Silk Scarf Ponytail
- Conclusion
Straight hair has two gifts that other hair types work hard for. It shines on its own, and it holds a smooth shape for hours with very little effort. The trouble is that the same smoothness can turn flat and dull, and the same style day after day starts to feel boring. This list fixes that with 21 styling ideas for straight hair, from sleek ponytails and smooth buns to soft layers, pretty braids, and one minute fixes for busy mornings.
Every idea below works on real straight hair, and most of them need nothing more than a brush, a few pins, and one elastic. A few looks use a flat iron or a round brush, and a couple use gel or serum, but nothing here needs salon tools or a long routine. Before you start, keep a heat protectant spray and a light serum close by, since smooth hair shows damage and frizz faster than wavy hair does. Read each section for what to ask your stylist for, how long the style takes, and who it suits best.
Use this list like a menu for the week. Save the photos you love, try one new style each day, and note which ones hold up best on your hair length and thickness. Bring the photo to your stylist when a look needs a cut, like layers or bangs, and point out the exact length you want. The right style can make straight hair look fresh, full, and polished without a big change.
Sleek Low Ponytail
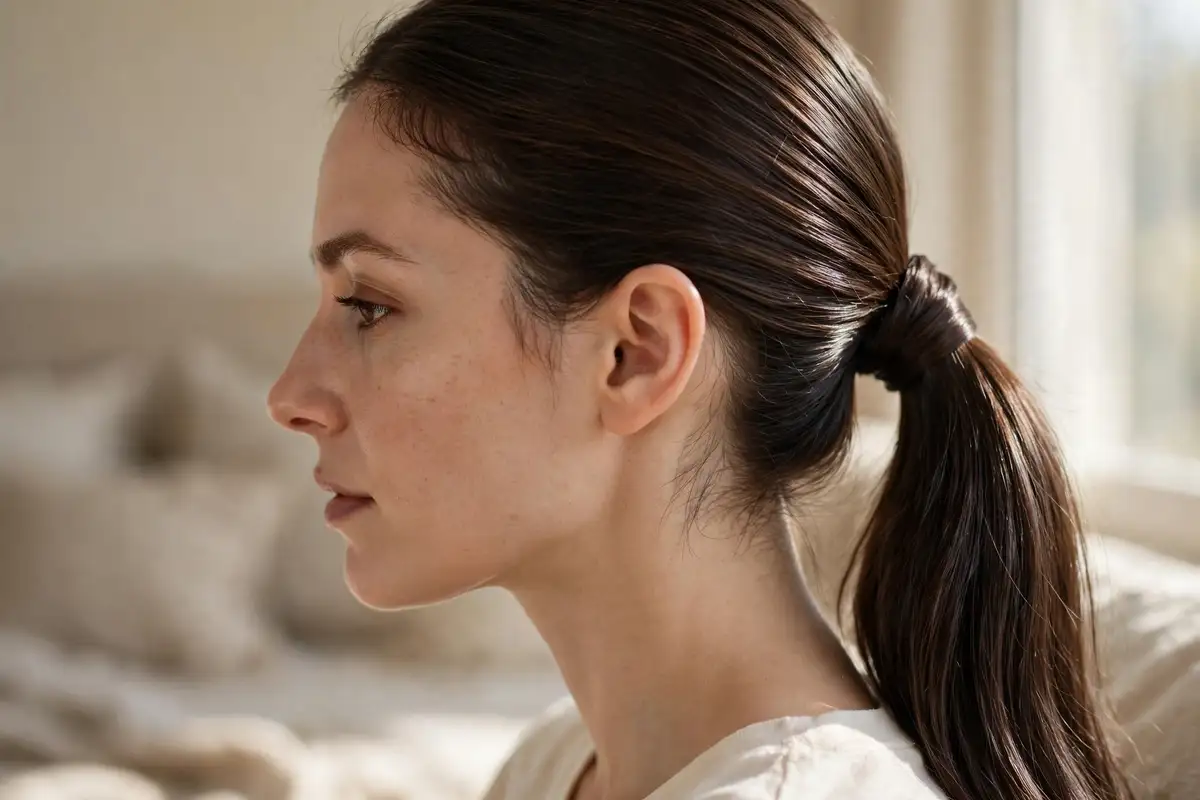
A sleek low ponytail is the neatest style on this list, and it works for work days, school, and outings alike. Brush your hair until it lies flat with no bumps, then gather it at the nape of your neck and tie it with a covered band so the elastic leaves no dent. Take a small strand from under the tail, wrap it around the band, and pin the end underneath so the wrap stays hidden and secure. Smooth the top with a drop of serum for extra shine, and check the sides in a mirror for stray bumps before you leave. Dress it up with a ribbon for a party, or keep it plain and clean for a work day. This style keeps hair out of your face all day, it suits every face shape, and it takes about five minutes once you know the wrap trick.
Glass Hair Blowout
- Start with clean, dry hair for the smoothest base.
- Use a heat protectant spray before you flat iron.
- Work in small sections from the bottom layer up.
- Finish with a cool shot from your dryer to lock in shine.
- Add a pea sized drop of serum on the ends only.
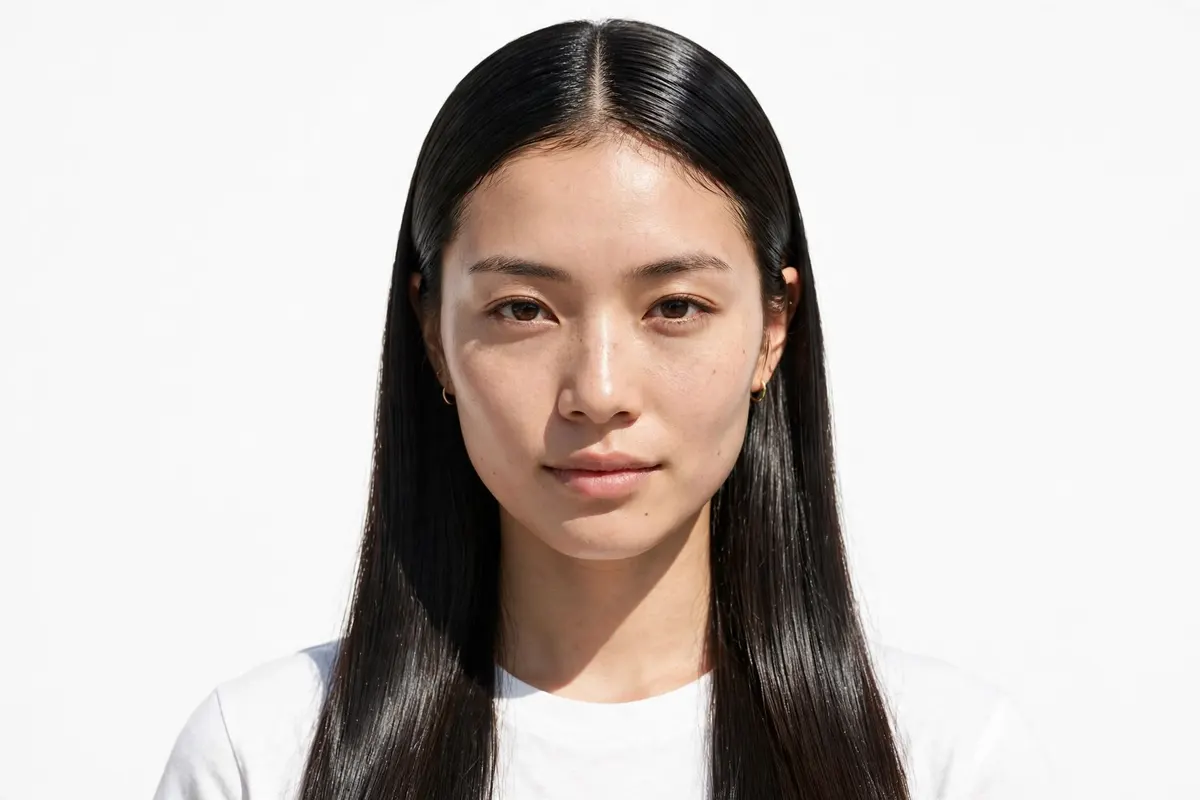
A glass hair blowout gives straight hair a mirror shine that looks rich and neat, and it works best on freshly washed hair with a round brush and a dryer. Keep the heat on medium so you do not dry out the ends, and take small sections so each one gets fully smooth instead of half straight. The cool shot at the end matters more than it seems, since it closes the hair cuticle and locks the shine in place. Use serum only on the ends, because serum near the roots makes straight hair look greasy fast. This look fits parties, photos, and days when you want extra polish, and it holds well until your next wash if you sleep with your hair loose on a silk pillowcase.
Soft Face Layers
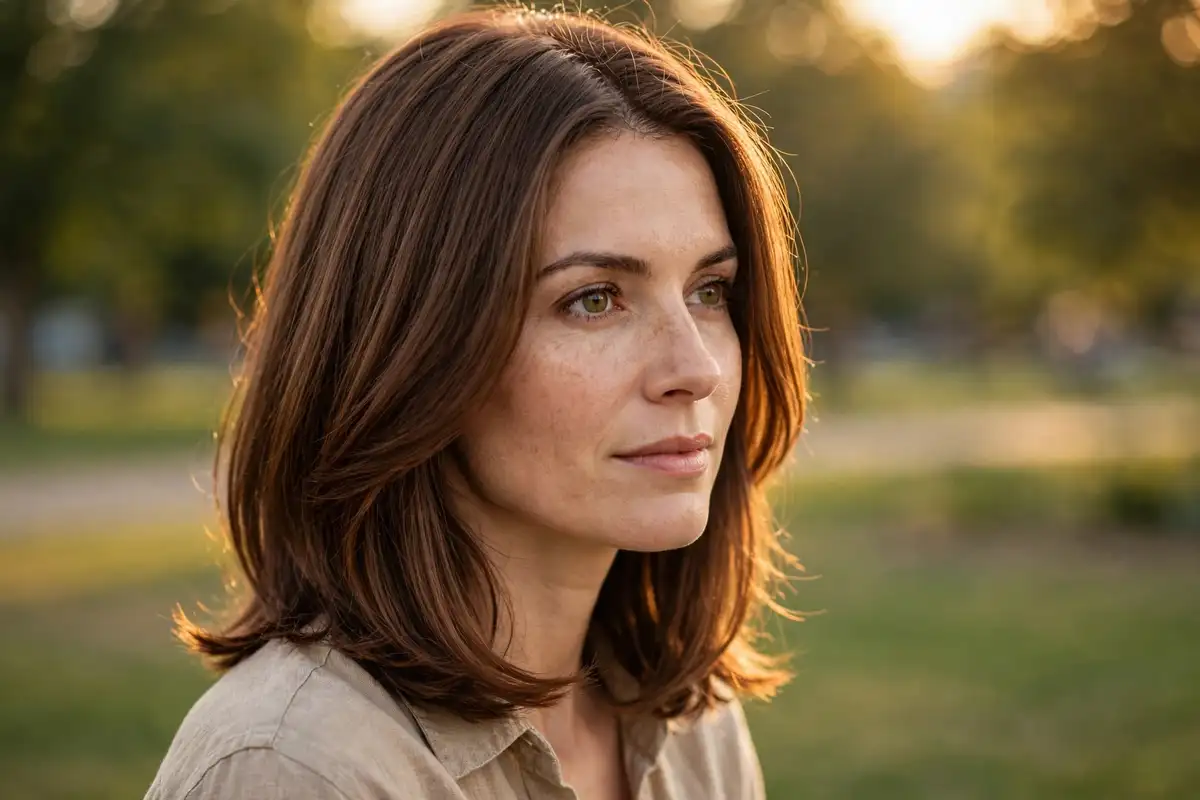
Ask your stylist for soft layers that start near the chin, since they frame the face without taking away length, and they stop long straight hair from looking flat. Soft face layers add gentle shape around your cheeks and jaw, and they move when you walk, which gives life to straight hair that can otherwise hang like a curtain. This cut works for thick and thin hair both, because the layers remove weight from thick hair and add shape to thin hair without making the ends look wispy. Style them with a quick blow dry, tucking the ends under with a round brush for a clean curve that frames the face. Tell your stylist to keep the shortest layer at chin length or below, since layers cut too high can flip out and look messy on straight hair. Bring the photo to your appointment and point out where you want the shortest piece to fall.
Tucked Behind Ears
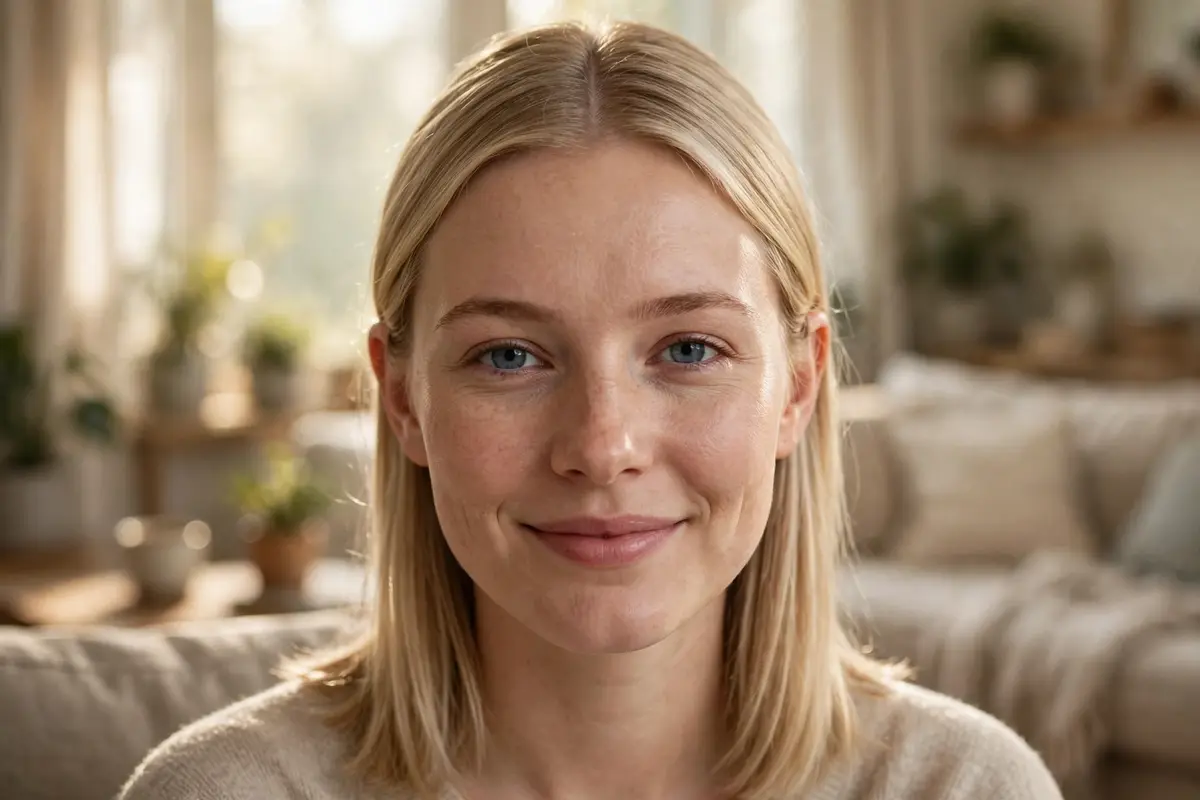
Before: hair hangs loose with no shape, and strands keep falling into your face while you work or study. After: both sides tuck neatly behind your ears, your face looks open and fresh, and the style stays put for hours. Tucking straight hair behind the ears is the simplest trick in this list, since it takes ten seconds and needs no pins or spray. The look feels neat for class, office calls, or errands, and it shows off your earrings in a nice way, so add small studs or hoops to make it pretty. If your hair slips out, tuck it behind your ears while it is still slightly damp, or add one hidden bobby pin on each side for all day hold. For more quick ideas like this one, browse these super easy hairstyles that take only a few minutes each. Avoid tucking hair that is full of product, since it can look greasy at the roots, and skip this trick on very short hair that will not stay behind the ear.
Crown Braid Accent
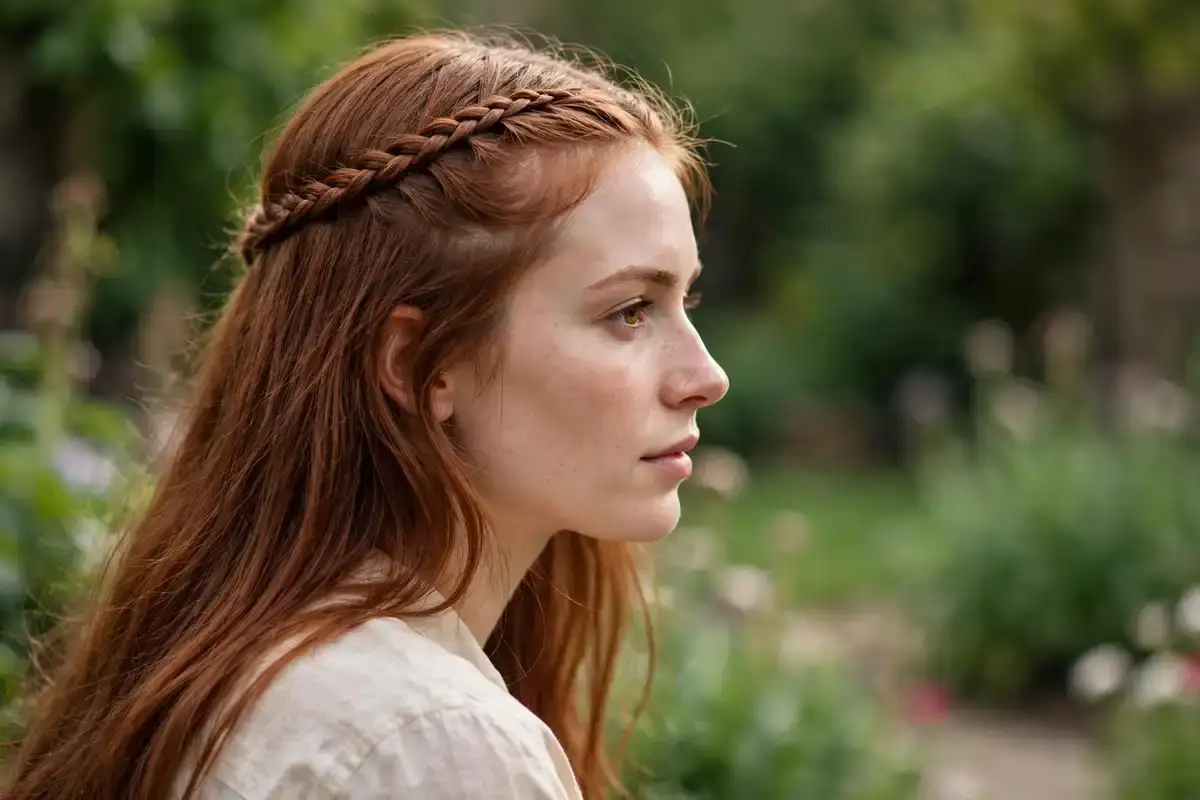
- Part your hair on one side.
- Take a two inch section near the temple.
- Braid it back along the hairline toward the ear.
- Pin the end under your loose hair.
A crown braid accent adds a sweet detail to plain straight hair, and it keeps front strands out of your eyes in a pretty way while the rest of your hair stays loose and smooth. This style suits picnics, dates, and photo days, since the braid reads as a deliberate detail instead of a plain loose style. Keep the braid thin and loose, because a thick tight braid can look heavy against smooth straight hair, and pin the end flat under the loose hair so no elastic shows. Practice the braid twice and it becomes quick, and once you know the path along the hairline you can build it in under five minutes. If your hair is very slippery, braid it while it is slightly damp, or add a little texturizing spray first so the braid grips. Pull the braid edges out a touch for a softer finish, and skip this style on freshly washed hair that is too slick to hold a braid.
Half-Up Top Knot
| Sleek Top Knot | Soft Top Knot | |
|---|---|---|
| Best for | Work and events | Weekends and errands |
| Finish | Smooth and neat | Loose and relaxed |
| Time needed | About ten minutes | About five minutes |
| Hold | Pins and spray | One elastic |
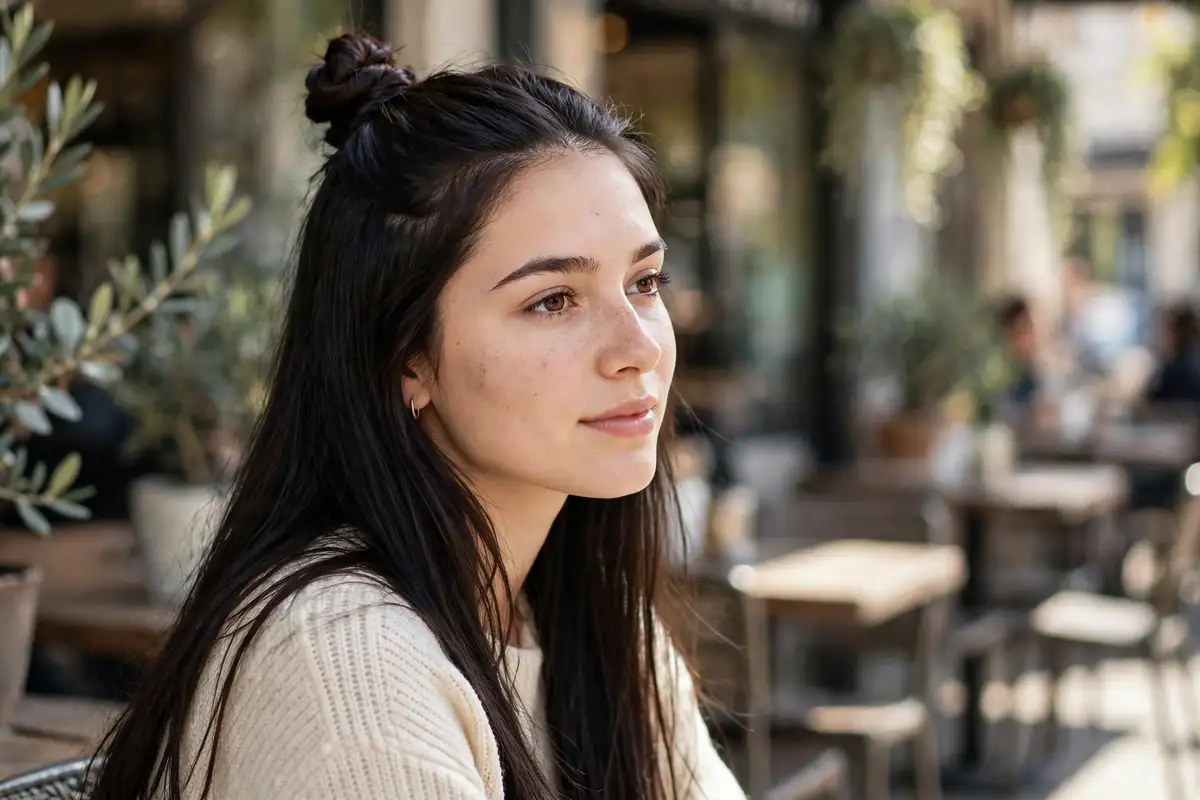
A half-up top knot lifts hair off your face while keeping length down, which makes it one of the most useful styles for straight hair. The sleek version looks neat for work or events, so smooth the top with a brush and serum before you twist, and pin the knot firmly so it holds all day. The soft version feels relaxed for weekends, so pull the knot loose, leave a few face strands out, and secure it with one elastic only. Pick the version that fits your day, and take the top section from ear to ear so the knot sits centered and balanced. Both styles take only a few minutes to build, they suit every hair length past the shoulders, and they keep the front strands out of your face without a full updo. Avoid taking too much hair into the knot, since a heavy knot pulls and slips on smooth straight hair.
Deep Side Part
- Do: part hair while it is still damp for a clean line.
- Do: use a tail comb for a sharp, straight part.
- Do: smooth the heavier side flat with serum.
- Do: set the part with a cool dryer shot.
- Don’t: switch the part every day at first.
- Don’t: use heavy oils near the roots.
- Don’t: part on tangled or knotted hair.
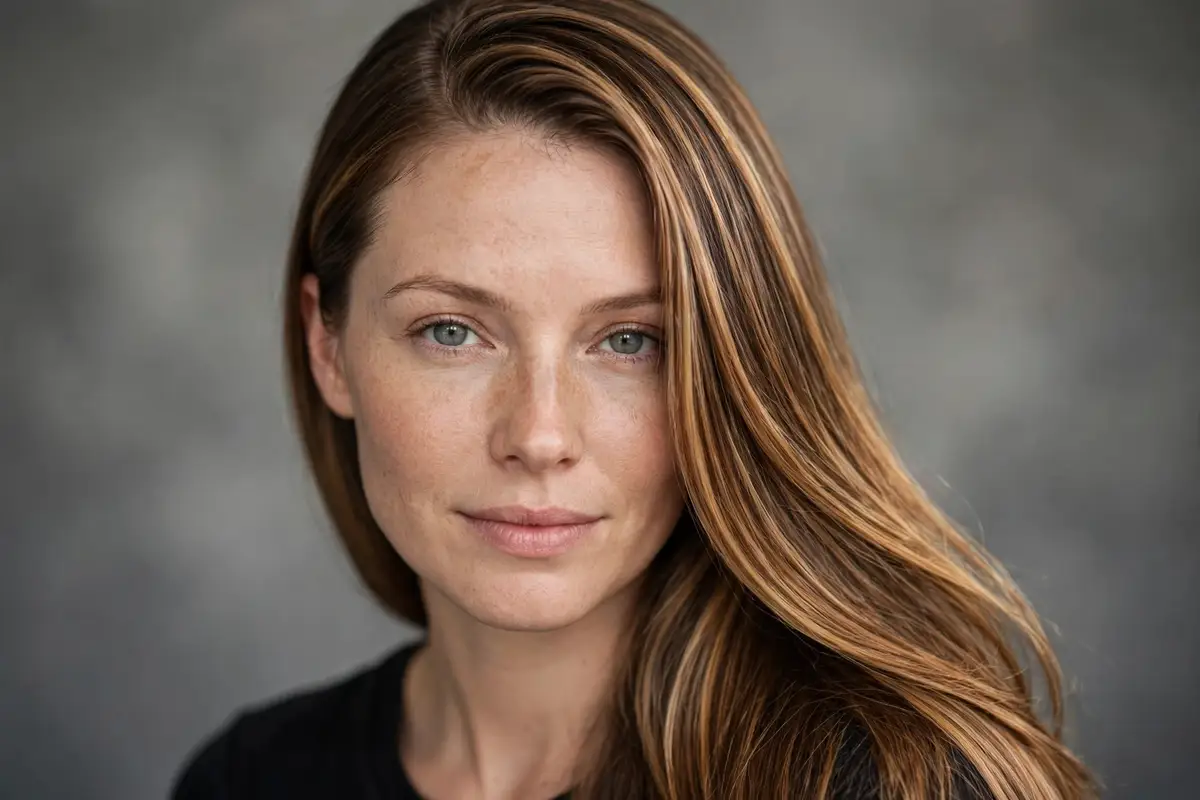
A deep side part adds instant lift to straight hair, since it raises the roots and sweeps soft hair across the forehead with no cut needed. This trick works on all lengths, and it is the fastest way to refresh your look when your usual center part starts to feel dull. Part the hair while it is still damp so the line sets clean, then blow dry the front in the direction of the sweep so the hair falls where you want it. Keep the part in the same place for a few days at first, because straight hair needs time to learn a new part, and switching daily makes the roots fight the line. The change also adds volume at the crown, which helps fine straight hair look fuller. Avoid heavy oils near the roots, since they flatten the lift you just built, and use a light hold spray if the sweep slips back by midday.
Wet Look Gloss
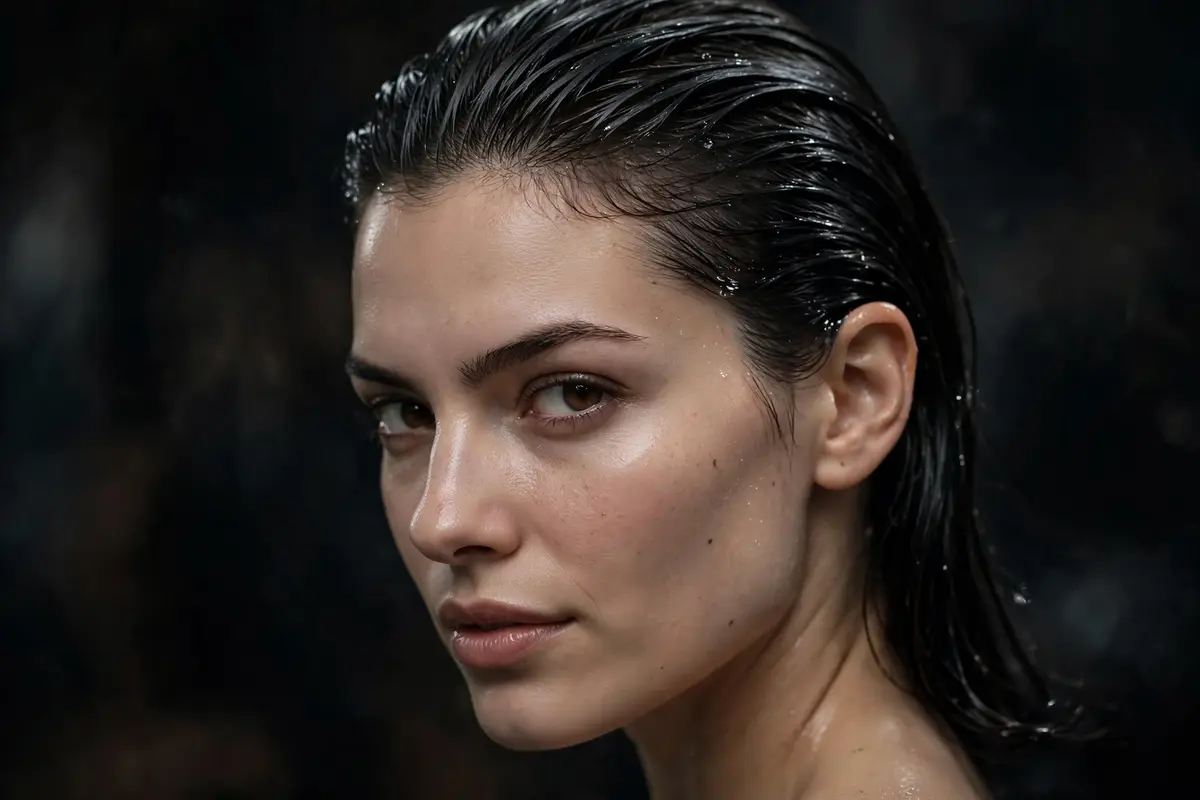
- Best for: nights out and photos.
- Hold: strong gel or wax.
- Wash out: needs a full shampoo.
- Careful: can feel heavy on fine hair.
The wet look gives straight hair a bold, glossy finish that looks high fashion but takes only minutes with the right gel. Comb the product through damp hair from roots to mid lengths, then let it set without touching it, since touching breaks the smooth wet finish. Keep the rest of your look simple so the hair stands out, and wear it for nights out and photos rather than daily wear. A little product goes a long way, so start with a coin sized amount and add more only if the shine fades, because too much gel makes the hair look greasy instead of glossy. Fine hair needs the lightest touch here, since heavy gel pulls it flat and feels sticky by evening. Plan for a full shampoo to wash it out, and skip this style if your hair is very fine and you want volume, since the wet look trades volume for shine.
Polished Blunt Bob

A blunt bob looks sharp when every strand lies smooth, so wash and blow dry your hair down with a paddle brush, then run a flat iron over small sections to remove any wave. The even ends are the star of this cut, so trim them every six to eight weeks to hold the line, and use a light oil on the tips to stop them from flipping out. Tuck one side behind your ear for a chic touch that shows off the clean line and frames the jaw and neck neatly. This cut suits straight hair best because the line stays true, while wavy hair fights the blunt edge and needs more heat to hold it. Ask your stylist to cut the line while your hair is dry, so they can see the true fall of your straight hair before they trim. Avoid heavy layers here, since they thin the ends and weaken the blunt edge that makes this bob look polished.
Twisted Front Pieces
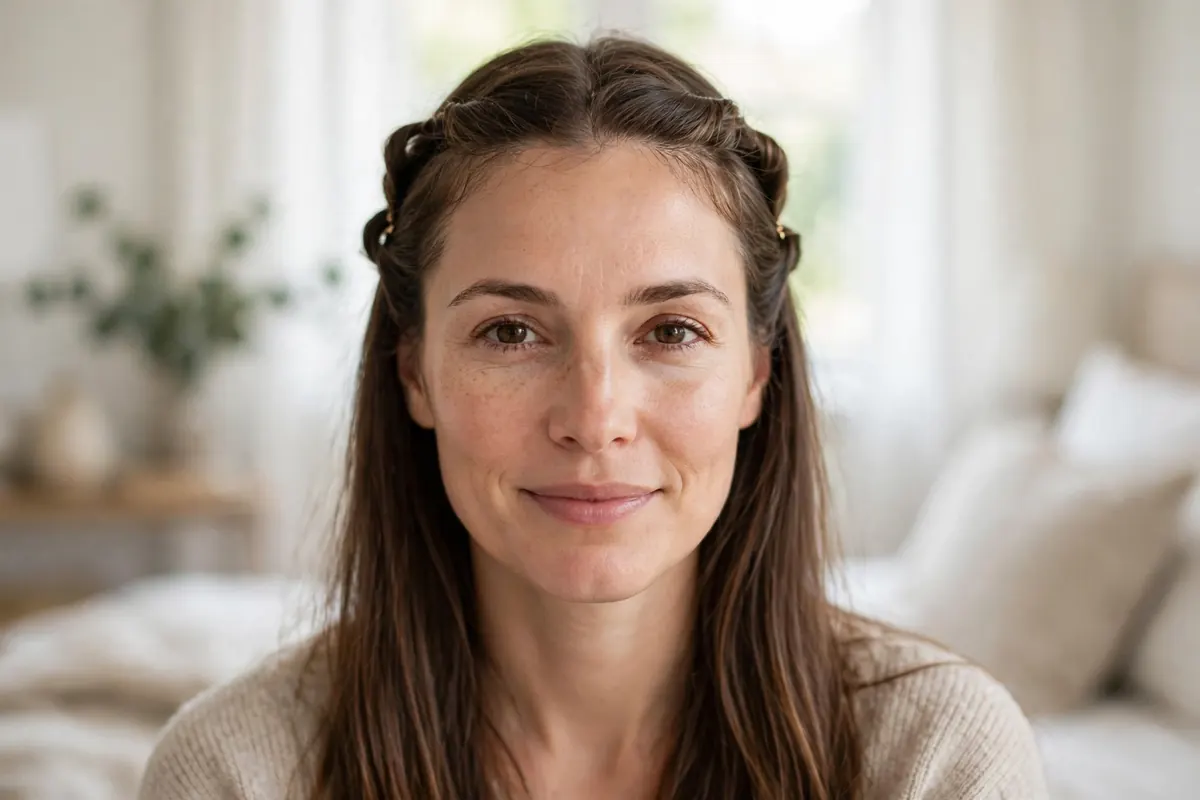
- Take a one inch section from each side of your part.
- Twist each section back away from your face.
- Cross them at the back of your head.
- Pin with two crossed bobby pins.
- Mist lightly with hairspray to hold.
Twisted front pieces keep hair off your face without a full updo, and the twists add texture that straight hair sometimes lacks. This style takes five minutes and suits busy mornings, since you only style the front and leave the rest of your hair loose and smooth. It also grows out well if you have bangs, because the twists hold the growing fringe back while it catches up in length. Pin the twists low for a soft, pretty effect, and cross two bobby pins over each join so the twists cannot slip on smooth hair. Keep the twists even on both sides so the style looks balanced from the front, and mist lightly with hairspray instead of soaking the twists, which makes them stiff. If your hair is very fine, twist slightly tighter and add a third pin for hold.
Smooth High Bun
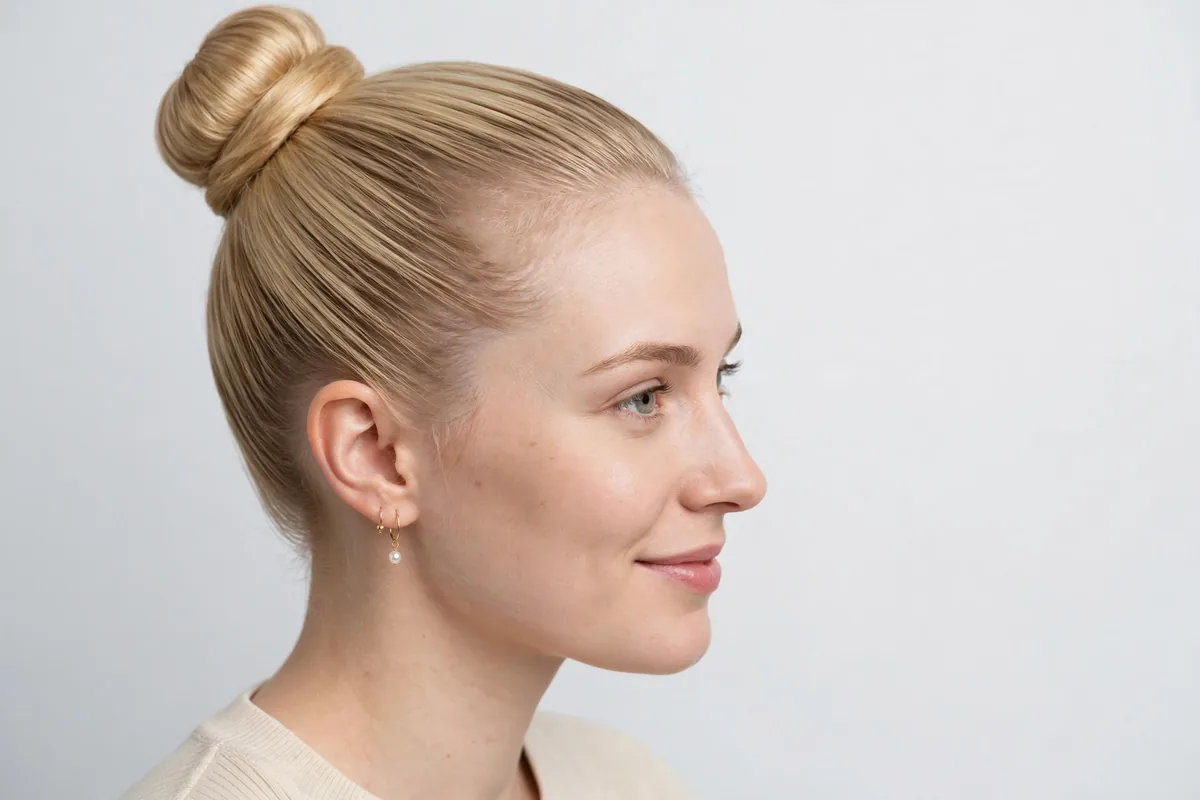
Quick tip: brush all your hair up high before you twist it into a bun, smooth the sides with your palms to catch bumps, and use a donut bun maker for a full, round shape fast. A smooth high bun looks neat and lifts your whole face, and it keeps you cool on warm days while showing off your neck and earrings. Straight hair wraps cleanly with no frizz, which makes this bun easier on straight hair than on textured hair, and it holds well because smooth strands stack neatly instead of puffing out. Wear it for dance class, office days, or weddings, and add a scrunchie for a fun twist or a plain band for a formal finish. Brush twice before you twist, since straight hair shows every bump at the crown, and secure the bun with pins as well as an elastic if your hair is thick. Avoid pulling the bun too tight, since that can cause headaches and breakage at the hairline over time.
Wispy Curtain Bangs

Before: long straight hair looks flat on top, and the forehead area feels plain with no softness around the face. After: wispy bangs soften the forehead, the face looks framed and fresh, and the whole style feels lighter. Wispy curtain bangs are light and easy to grow out, since they part in the middle and blend into the rest of your hair instead of sitting as a hard fringe. Style them with a quick round brush flick, rolling the brush away from the face on each side so the bangs curve open like curtains. They suit most face shapes and need little upkeep, which makes them a safe first fringe for straight hair. Ask your stylist to cut them a little longer than you think, since straight bangs sit exactly where they are cut with no wave to lift them. Trim them at home only with small, careful snips on dry hair, and never cut bangs while they are wet, since wet hair stretches longer and the fringe ends up shorter than planned.
Bubble Ponytail
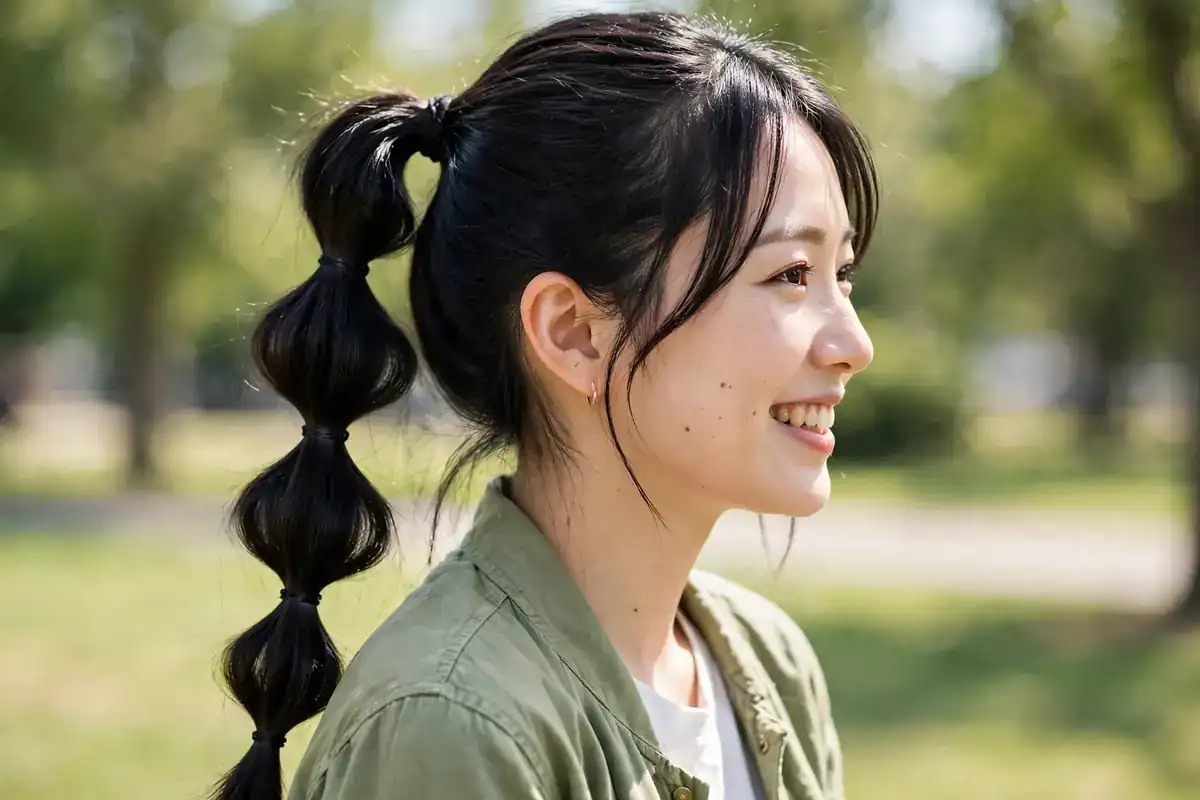
- Pull hair into a high ponytail and secure it.
- Add small elastics every two inches down the tail.
- Gently tug each section to puff it into a bubble.
- Smooth flyaways with a touch of serum.
A bubble ponytail turns a plain tail into a fun style, and it works best on long straight hair because the bubbles stay smooth and round instead of puffing into frizz. This look is great for parties, sports days, and festivals, since it keeps hair tidy during active days while still looking playful. Use clear elastics for a clean finish, and tug each section gently from the sides so the bubble puffs evenly without pulling the elastic loose. Space the elastics evenly down the tail, since uneven spacing makes the bubbles look lopsided in photos. Smooth flyaways with a touch of serum on your palms, and keep the top of the ponytail sleek so the bubbles stand out as the star of the style. Skip this look on short hair, since you need enough length for at least three bubbles.
Padded Headband Style

| Padded Headband | Thin Headband | |
|---|---|---|
| Look | Bold and chic | Simple and light |
| Comfort | Soft all day | Barely feel it |
| Best for | Outings and photos | Work and study |
| Hair type | Thick or long hair | Fine or short hair |
A padded headband pushes straight hair back in one move, and it adds color and shape with zero heat, which makes it perfect for bad hair days and quick errands. Pick velvet for a rich feel on outings and photos, or cotton for daily wear when comfort matters more than shine. Place the band about an inch back from the hairline so it holds the front hair without sliding forward, and keep one in your bag for fast fixes when plans change. Thick or long hair suits the padded style best, since the band has plenty of hair to grip, while fine or short hair looks better with a thin band that does not overpower the style. Avoid wearing a tight band all day, since it can leave a dent in straight hair and cause a headache, and take the band off before bed so the hairline can rest.
Twisted Low Chignon
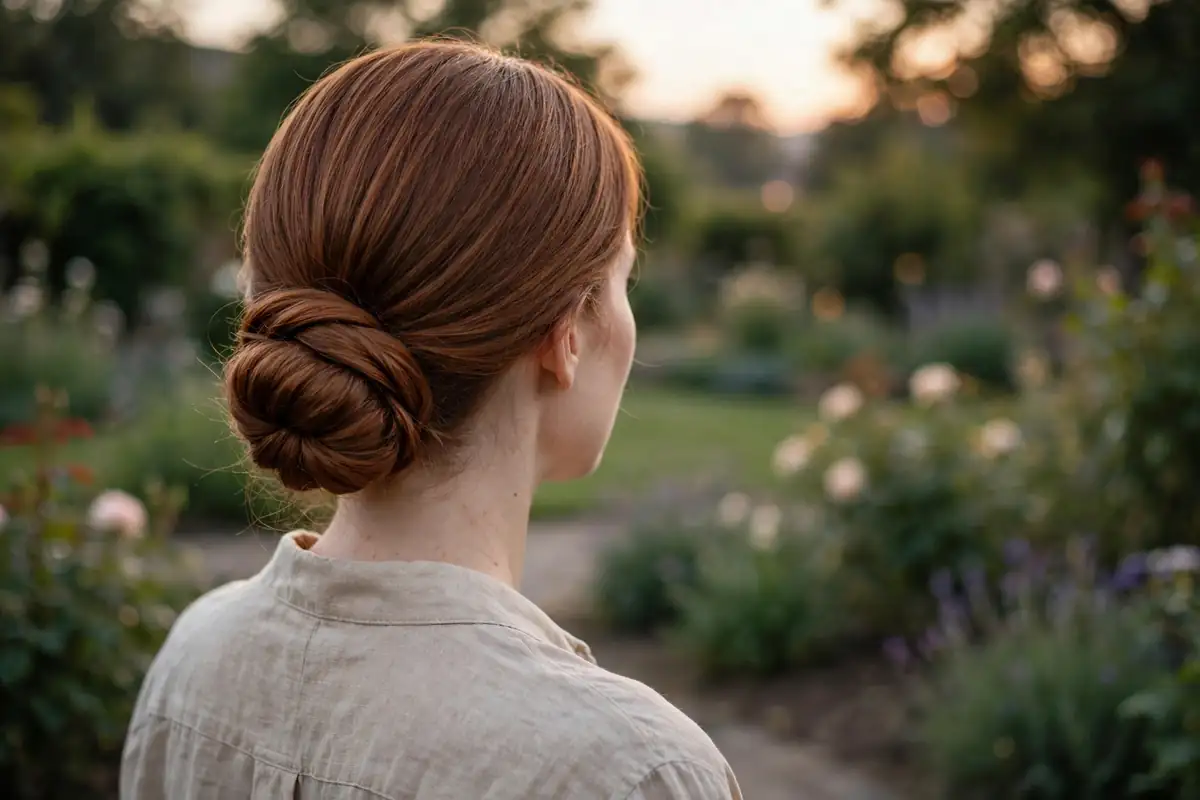
- Do: start with smooth, detangled hair.
- Do: twist sections loosely for a soft bun.
- Do: pin as you go to hold the shape.
- Do: pull out two face strands for softness.
- Don’t: pull the twist too tight.
- Don’t: skip pins on thick hair.
- Don’t: use a rough elastic that dents.
A twisted low chignon looks classy and takes ten minutes, and it sits at the nape, so it feels light all day instead of pulling at the crown. Straight hair twists neatly with clean lines, which makes this bun look more polished on straight hair than on wavy hair. Wear it to dinners, offices, and family events, and pull out two face strands for softness so the style does not look too severe. Twist the sections loosely for a soft bun, pin as you go so the shape holds, and finish with a light mist of spray to keep it firm through long evenings. Start with smooth, detangled hair, since knots show up as bumps in a low bun, and use a covered elastic so the band leaves no dent. Avoid pulling the twist too tight, since a tight chignon looks harsh and slips on smooth hair, and add extra pins if your hair is thick.
Slicked Back Ponytail
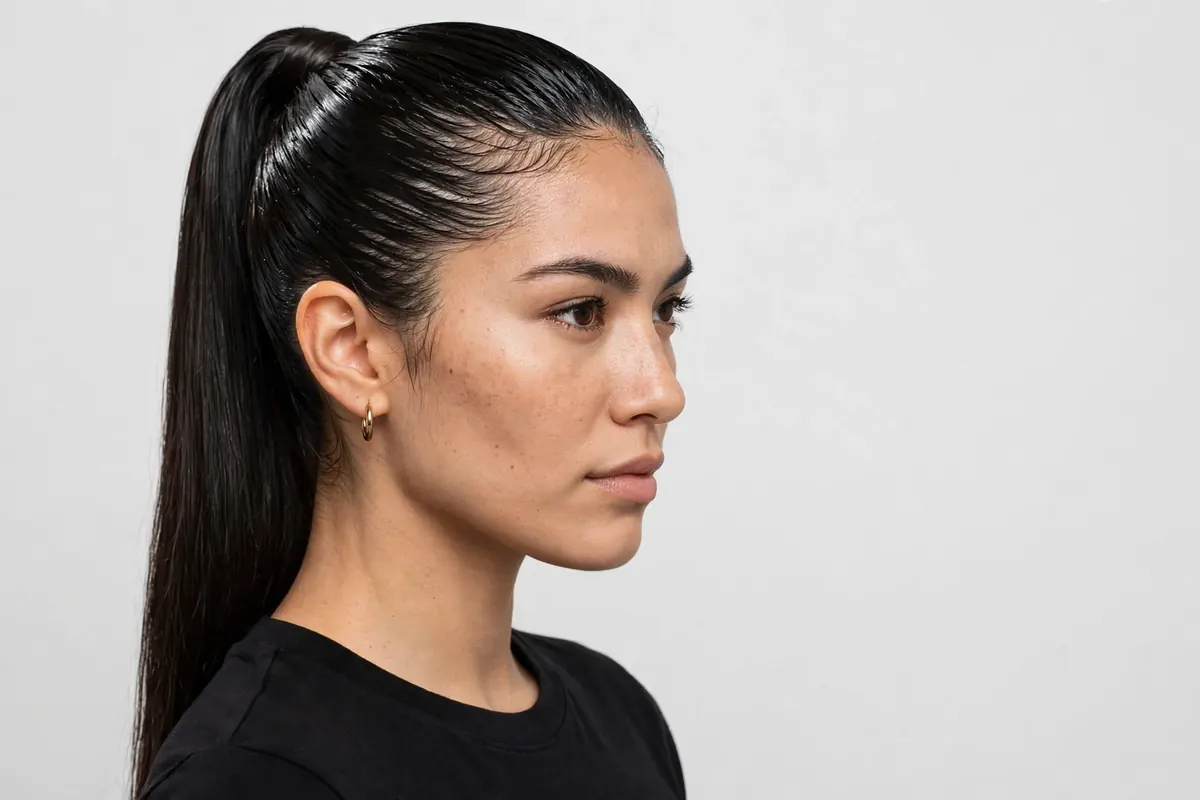
- Best for: sleek events and photo shoots.
- Product: strong hold gel.
- Finish: high shine, flat to the head.
- Note: shows every bump, so smooth well.
A slicked back ponytail looks bold and neat, and it pulls all hair away from the face for a clean line that lets your features stand out. Straight hair suits this style because it lies flat, so brush twice to catch every bump before you tie the tail, and use a strong hold gel combed through damp hair for a finish that stays flat all day. Keep makeup soft and let the hair be the star, since this style is already dramatic on its own. Set the ponytail high for a bold, lifted look, or at mid height for a softer version that still reads sleek. This style shows every bump, so smooth the sides with a fine tooth comb and check the back in a mirror before you leave. Skip it on days when your hair is oily at the roots, since the slick finish makes oil show more, and wash it out fully at night so gel does not build up.
Long Flowing Layers
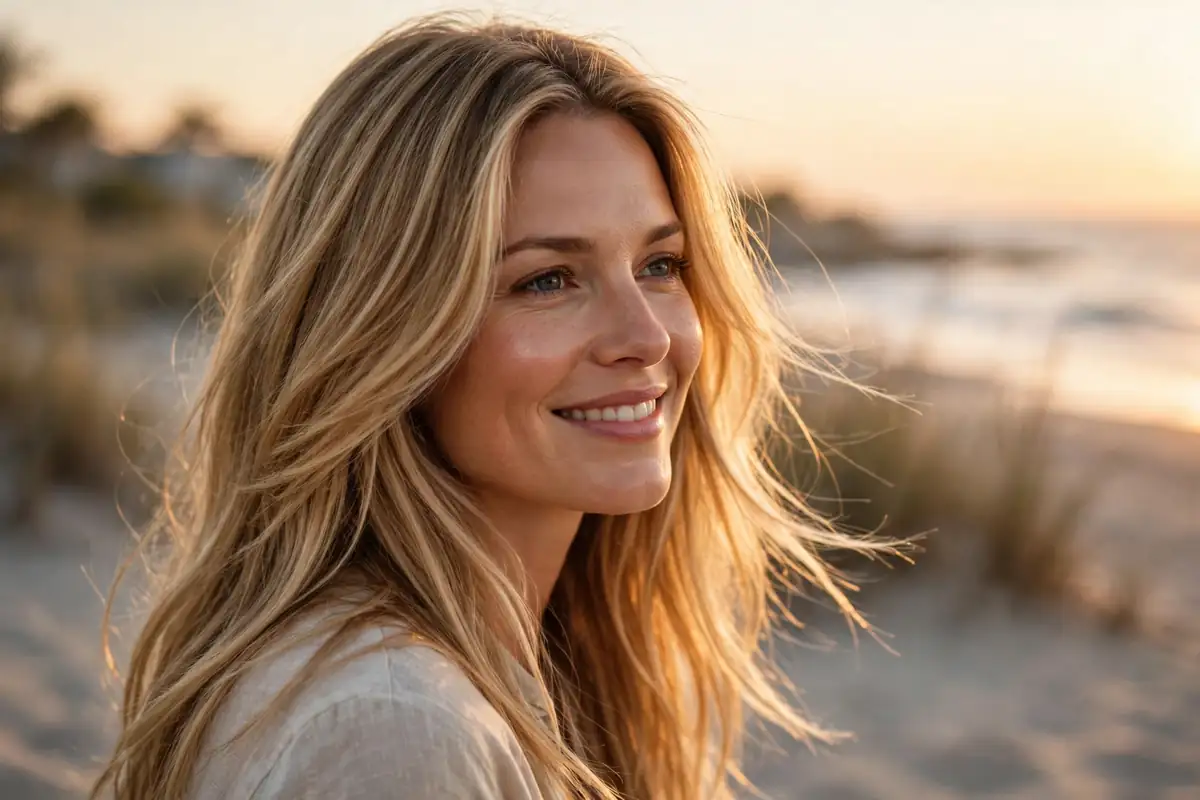
Long layers give straight hair movement without losing length, since the layers start below the chin and fall softly down the back. Each layer lifts a little when you move, which keeps the hair from looking heavy, and the shape stays timeless, so it always feels new. Blow dry with a round brush, rolling the ends under for a smooth curve, and run a flat iron over the top layer only for extra shine. Trim every ten to twelve weeks to keep the shape fresh, since grown out layers lose their curve and start to look straggly at the ends. This cut suits thick hair best because it removes weight, and thin hair can wear it too with fewer layers so the ends stay full. Ask your stylist to keep the layers long and soft, since short choppy layers can flip out on straight hair and break the smooth flow.
Claw Clip Twist
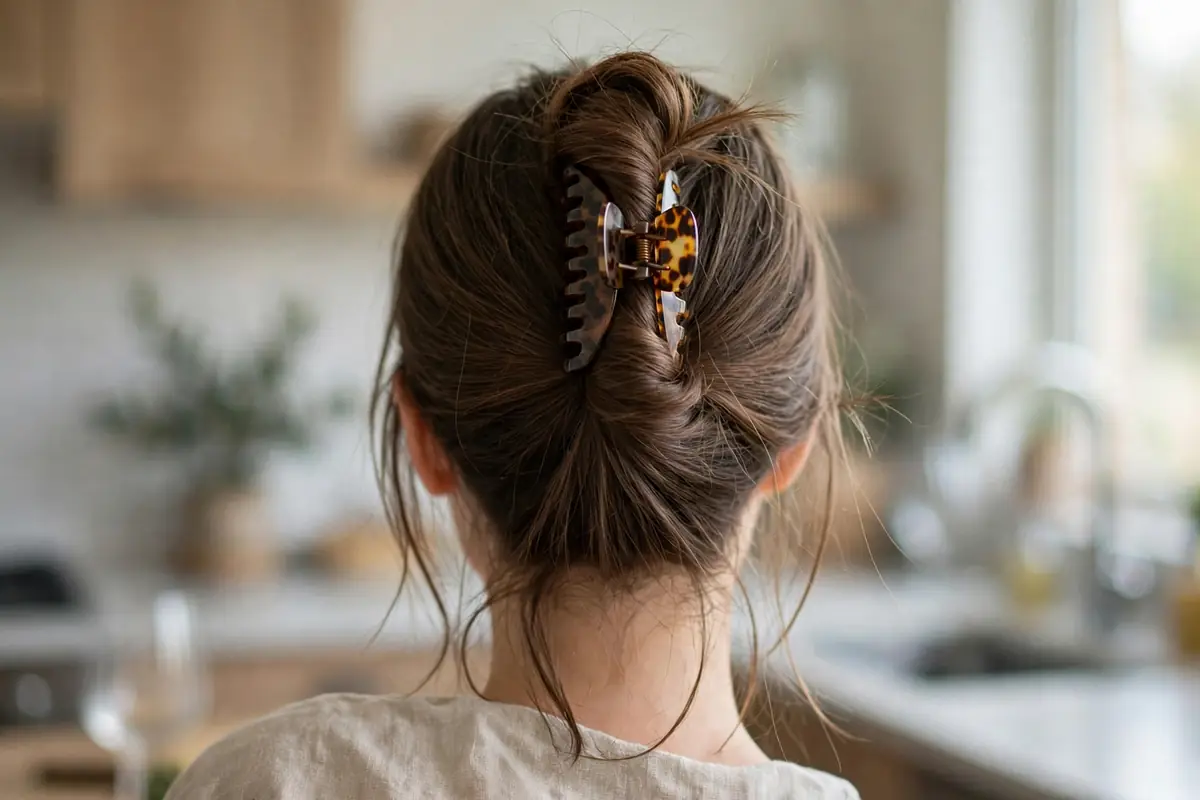
- Gather the top half of your hair back.
- Twist it once or twice upward.
- Open a medium claw clip over the twist.
- Let the ends fall over the clip.
- Pull a few strands loose near the face.
A claw clip twist is the fastest updo for straight hair, and it holds well because smooth strands grip the clip teeth instead of sliding out. This style works for errands, work from home, and quick outings, and it takes less than a minute to build once you know the twist. Keep a clip in your bag for easy fixes, and pick a medium clip for most hair, since a small clip slips on thick hair and a large clip overwhelms fine hair. Twist the hair upward once or twice, clip over the twist, and let the ends fall over the clip for a soft finish. Pull a few strands loose near the face so the style looks relaxed instead of severe, and press the clip flat so it sits close to the head. Avoid twisting too tight, since a tight twist pops the clip open on smooth hair, and use a second clip if your hair is very thick.
Sleek Straight Lob

Quick tip: a lob ends near the collarbone, which flatters most face shapes, so keep the ends blunt for a modern edge and flat iron in small sections for a glassy finish. A sleek straight lob feels fresh and light, since it is short enough to dry fast but long enough to tie back on busy days. Straight hair shows off the clean cut line, which is why this cut looks best on straight hair, and it grows out with a nice shape so you are not tied to frequent trims. This cut suits women who want change without going very short, and it works for work, weekends, and events alike. Ask your stylist to check the line while your hair is dry, so the length sits evenly on both sides, and keep the ends blunt instead of layered for the modern edge. Browse more cute hairdos for shoulder-length hair for extra ideas at this length. Avoid heavy layers here, since they thin the ends and soften the clean line that makes the lob look sharp.
Fishtail Side Braid
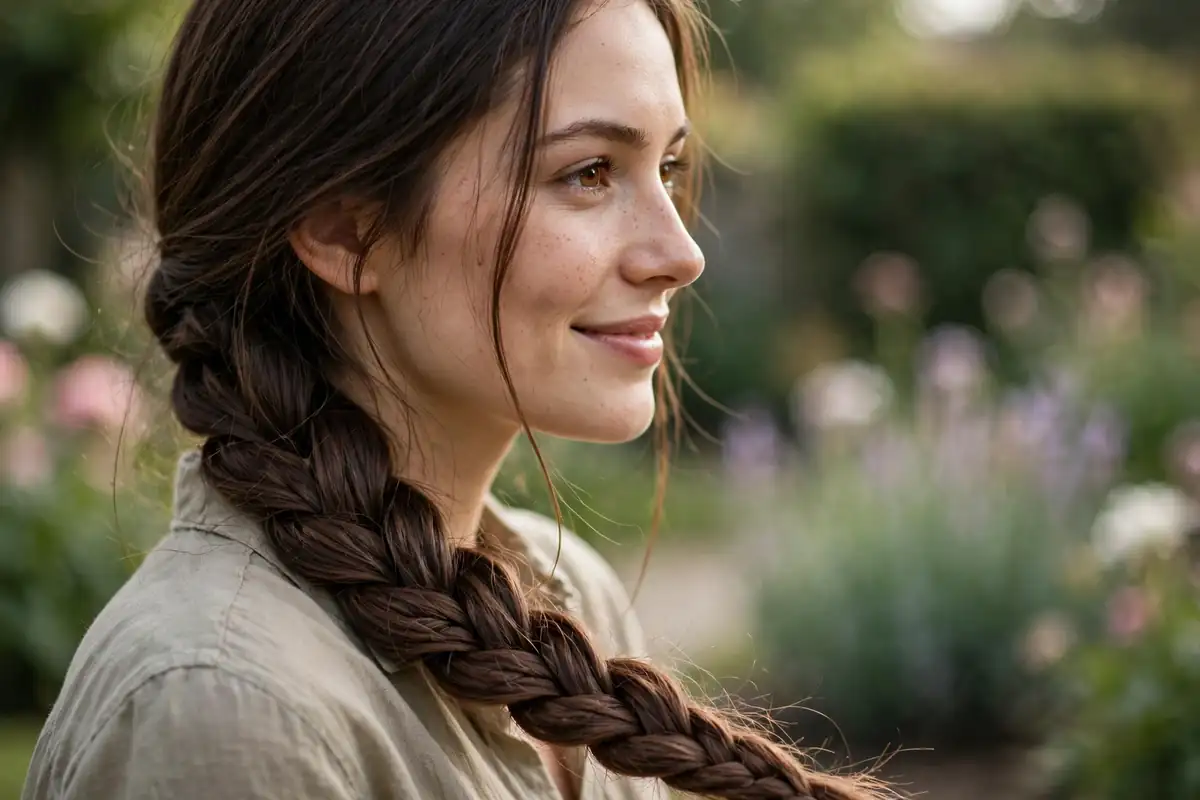
Before: a plain side ponytail or loose braid looks simple, with no detail to catch the eye in photos. After: the fishtail weave adds pretty texture, the braid sits neatly on the shoulder, and the style looks detailed and neat. A fishtail side braid looks fancy but uses a simple weave, since you only cross small outer pieces to the center again and again, and it holds straight hair well because smooth strands slide into place. Drape it over one shoulder for a soft look, and loosen the edges a bit for a fuller braid that photographs beautifully. It stays neat for hours with light spray, which makes it a good pick for weddings, parties, and photo days. Start the braid behind one ear and work down over the shoulder so the braid falls naturally, and tie the end with a clear elastic so the weave stays the focus. If your hair is very slippery, braid it while it is slightly damp so the pieces grip, and skip heavy serum before braiding, since it makes the strands too slick to hold.
Silk Scarf Ponytail
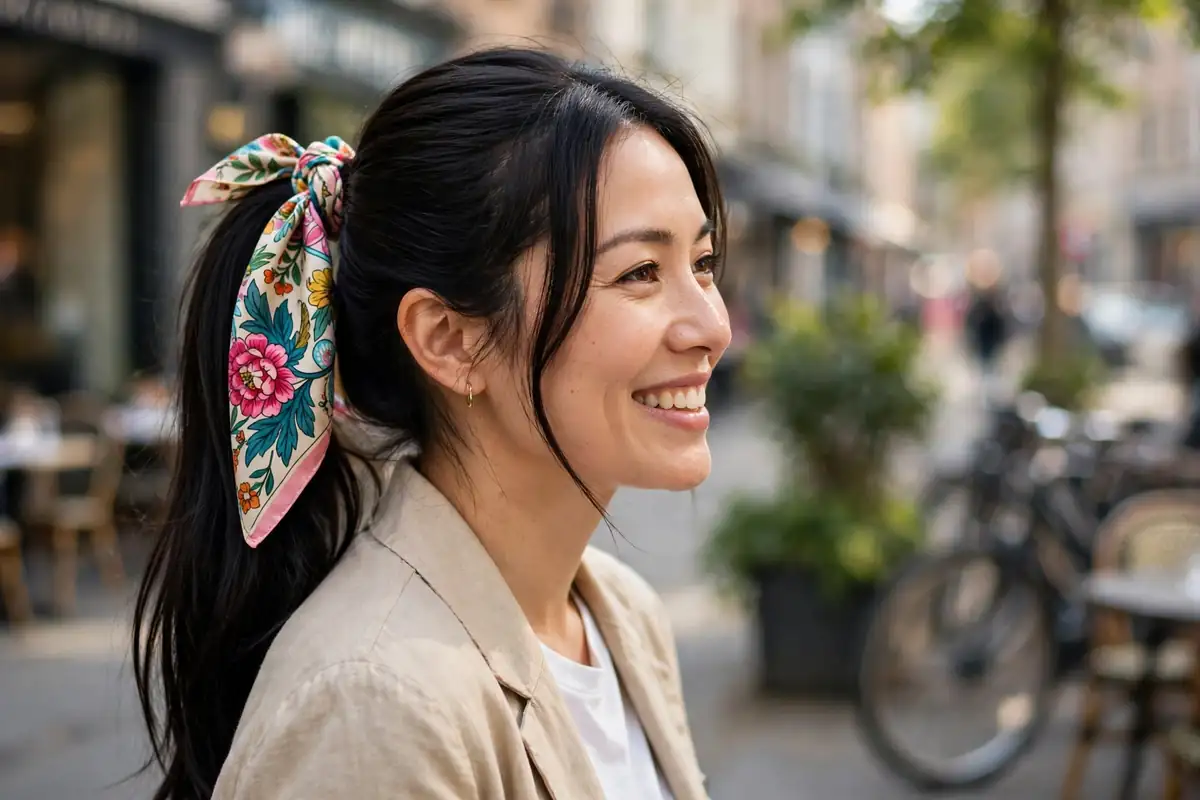
- Pull your hair into a mid ponytail and tie it.
- Fold a silk scarf into a long band.
- Wrap it around the elastic twice.
- Tie a neat bow on top and fluff the ends.
A silk scarf ponytail adds color and charm in seconds, and it hides the elastic while lifting a plain style into something that looks planned. Straight hair lets the scarf sit smooth and neat, since there are no waves to push the fabric out of place. This trick is perfect for travel days and summer outings, and it also protects the elastic from sun wear. Pick a scarf that matches your outfit or adds a pop of color, fold it into a long band, and wrap it twice around the elastic before you tie a neat bow on top. Fluff the bow ends so they sit evenly, and check that the knot sits on top where it shows, not hidden underneath the tail. Avoid a scarf that is too thick, since it overwhelms a ponytail, and use a small square scarf folded on the diagonal for the neatest band.
Conclusion
These 21 ideas show how fun styling straight hair can be, and the best part is that none of them needs a salon visit or a drawer full of tools. From sleek buns and smooth blowouts to pretty braids and soft layers, there is a look for every mood and plan, whether you have five minutes before work or a full evening to get ready for a party. Try one new style each week and note which ones hold up best on your hair, since the styles that suit your length and thickness will quickly become your favorites. Save your favorites on Pinterest so you can find them fast when you need fresh ideas, and pin this guide to your hair board so it is ready when plans pop up. With a brush, a few pins, and these simple tricks, great hair days are always close, so pick one idea from this list and try it today. Which idea will you try first?
Loved this post?
Follow me on Pinterest for fresh ideas every day.
Written by Zohana
Fashion Enthusiast & Capsule Wardrobe Curator
I share easy outfit ideas, hair looks, and beauty tips. I hope you find something you love.

forumComments (2)
[…] the jaw and keeps the waves from pulling the shape down. For straight hair days, browse these styling straight hair ideas to keep the same cut looking […]
[…] is still damp so the line stays straight all day. If you wear your hair straight most days, these styling ideas for straight hair can […]